Showing posts with label Recipes. Show all posts

Saturday, October 26, 2013

Tomato Basil Soup


Fall is here!  For the last couple of nights, the temperature has dipped down into the 20's.  Definitely soup weather!

I love tomato soup.  There's nothing better on a cold day than a grilled cheese with some good tomato soup.  Luckily, that is one of Jake's favorite meals too, so we have it a lot.  Now Jake is very easy to please.  I could open up a can of Campbell's condensed tomato, and he would be thrilled.  I, however, am a bit pickier about my soup. :)

I've tried several different tomato soup recipes and combined the best of each to come up with my own Tomato Basil Soup.  It is creamy, basil-y tomato goodness.  And it's really very simple to make!

Here's what you need:

Crushed tomatoes, olive oil, fresh garlic, chicken broth, basil (more on this later!), sugar, heavy cream, salt, and pepper
This is enough for a double batch of soup. It freezes really well, so I like to make a lot and freeze it in little containers to take out for a quick lunch or dinner.
 
First, heat some olive oil in a large pot over medium heat. Then add your garlic.
 
 
I absolutely love my Pampered Chef garlic press!  It's probably one of my favorite things I've ordered from them.  You just throw a whole clove in (peeling and all!), squeeze, and it out comes perfectly minced garlic.
 
Saute the garlic until golden brown, about 1-2 minutes. 
 
 
Mmm...there's nothing like the smell of sauteing garlic.
 
When the garlic is nice and golden, add the crushed tomatoes. 
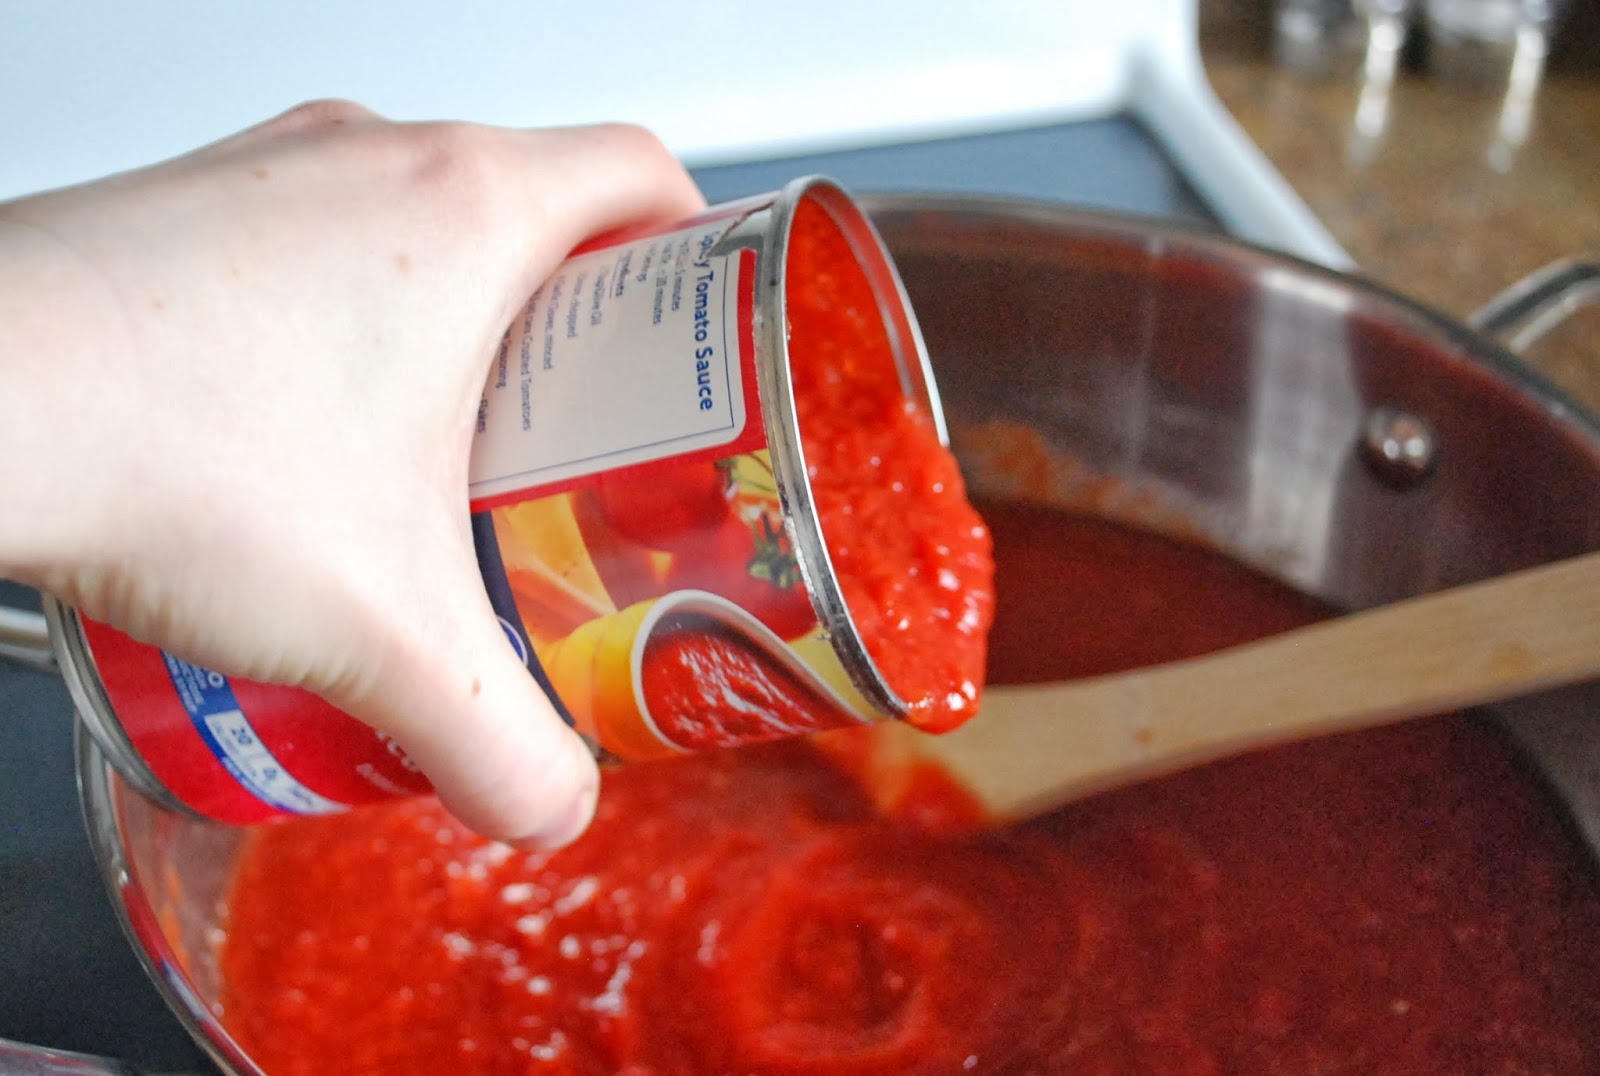
 
 
I've tried recipes that use tomato puree or a combination of crushed and whole or diced tomatoes, but I really like using all crushed.  It makes the soup nice and thick but not too chunky.
 
Next, add your salt, pepper, sugar, and broth.
 
 
You could also use vegetable broth, but I think chicken broth gives it a good flavor.
 
Let the soup simmer for 10-20 minutes.  I cover it to avoid tomato splatters all over the stove.
 
 
Now for my basil dilemma...
 
I really like to use fresh basil for this soup.  Until a few weeks ago, I would have gone out to my little herb garden and picked some basil.  But alas, the frost has come and all of my herbs have withered and died.  So I had to get my basil from the grocery store.  Unfortunately, the basil at the store was not looking too good.  And it was expensive...over $3 for a pitiful little sprig that barely looked better than my withered plants! 
 
Then I saw this:
 
 
I've seen these fresh herb pastes in the past and been curious but skeptical.  I stood in the store for a minute trying to decide whether to get this or to stop by another store to look for fresh basil.  But my to-to list was long and my time was running short, so I decided to give the paste a try.
 
Verdict?
 
It was pretty good!  Not as good as fresh, but a TON better than dried.  And I had quite a bit leftover that I can use for something else.  Definitely a good alternative when fresh basil is not available!
 
So after the soup has simmered, turn the burner off and add your basil and heavy cream.


The heavy cream is a big part of what makes this soup so delicious.  I have tried substituting milk, but it just doesn't work.  Half and half is okay, but still not the same.  For this recipe, the real stuff is the way to go.
 
And that's it!  


I like to top it with some fresh Parmesan and croutons. 
 
 
Yum!  Now all you need is a grilled cheese! :)
 

Tomato Basil Soup

1 Tbs olive oil
3 cloves fresh minced garlic
3 cans crushed tomatoes
2 cups chicken broth
1 tsp salt
1/4 tsp pepper
1 tsp sugar
1/3 cup heavy whipping cream
2 Tbs fresh basil or basil paste
 
Heat olive oil in a large pot over medium heat.  Add garlic, and saute 1-2 minutes until golden brown. 
 
Add crushed tomatoes. Stir in broth, salt, pepper, and sugar.  Cover and simmer 10-20 minutes. 
 
Remove from heat, and stir in heavy cream and basil. 
 
Enjoy!
 

~Rachel


Thursday, October 17, 2013

The Best Cake I've Ever Made

I always love an excuse to try out a new dessert recipe!  My mom's birthday was this past week, and I decided to make a recipe I pinned in Pinterest several months ago: Pumpkin Dream Cake.  It's pretty much a three layer pumpkin cake with Maple Cream Cheese frosting.  My mom loves pumpkin (so do I!), plus it's October-offically pumpkin season!  The original recipe came from The Novice Chef blog.  I've never made any of her recipes before, but since this one was so delicious, I may have to try out more!

This cake was a HUGE hit!  My entire family was singing its praises.  Even my dad who usually doesn't care for pumpkin desserts was a big fan.  Jake declared it to be the best cake I've ever made, and I think I might have to agree! 

Here's what you need:
 
Flour, sugar, eggs, milk, baking soda, salt, canned pumpkin, vegetable oil, cream cheese, powdered sugar, maple syrup, cinnamon, vanilla, and (of course) butter

First, wisk together your flour, baking soda, and salt in a medium bowl.  Set aside.
 
 
Next, cream your butter and sugar until fluffy.
 
 
Did I mention that this is not one of my healthier recipes? :)  It's so worth it though!
 
Beat in eggs, one at a time.


Add pumpkin, vanilla, and oil.  The original recipe said to stir it in, but I just used my Kitchen Aid on the lowest setting.

 
Alternate adding flour mixture and milk, beating well after each addition. 
 
 
When you are finished it should look like this:
 
 
It's pretty thick for a cake batter, but never fear...it will be delicious!
 
Now pour it into three 8-inch cake pans that you've already prepared.  I like to line the bottom of my pans with parchment paper to keep the cakes from sticking.
 
 
You may be asking "What are those weird pieces of fabric wrapped around your cake pans?"  Well awhile back I found a tutorial (via Pinterest of course!) on how to bake level cakes.  The full tutorial can be found on Rose Bakes, but basically it involves cutting strips of fabric, getting them damp, and wrapping them around your cake pans.  Pretty simple and it works like a charm!  No more cutting off the tops of layer cakes to make them even!
 
Bake at 300 for 35-40 minutes or until a toothpick comes out clean. 
 
Now get ready for another strange baking tip...
 
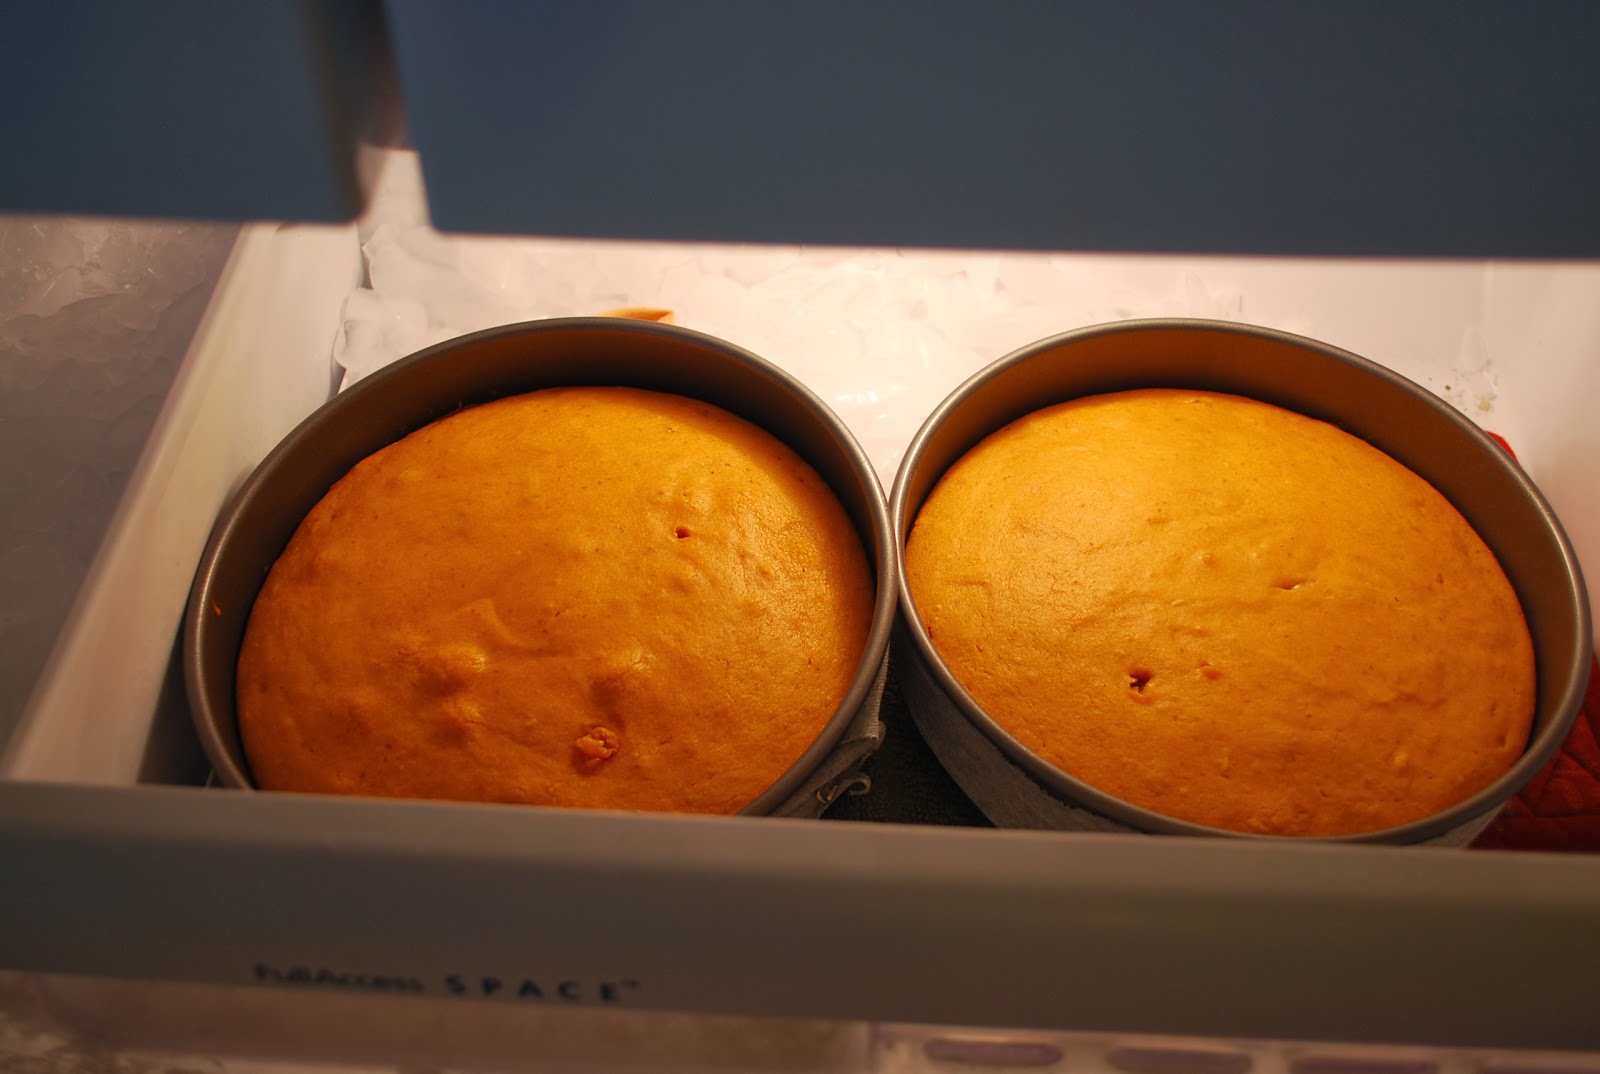
The original recipe said to remove the cakes from the oven and put them right into the freezer for 45 minutes.  Supposedly, this immediately stops the baking process, which keeps the cake moist. 
 
I was a little skeptical about this tip.  I've never seen it in a single cookbook, blog, website, or recipe card.  And I was a little nervous about putting hot, just-out-of-the-oven pans into my freezer.  But I decided to give it a try.  I cleared out the top section of my freezer, lined it with hot pads, and put the cakes in as soon as they came out of the oven. 


And let me tell you what, I'm glad I did.  This cake was SUPER moist-probably the moistest (is that a word?) cake I've ever made.  I will definitely be trying out this tip on all my cakes in the future!
 
Now for the Maple Cinnamon Cream Cheese Frosting.  Doesn't that just sound delicious?
 
Beat your butter and cream cheese together until smooth and fluffy. 
 
 
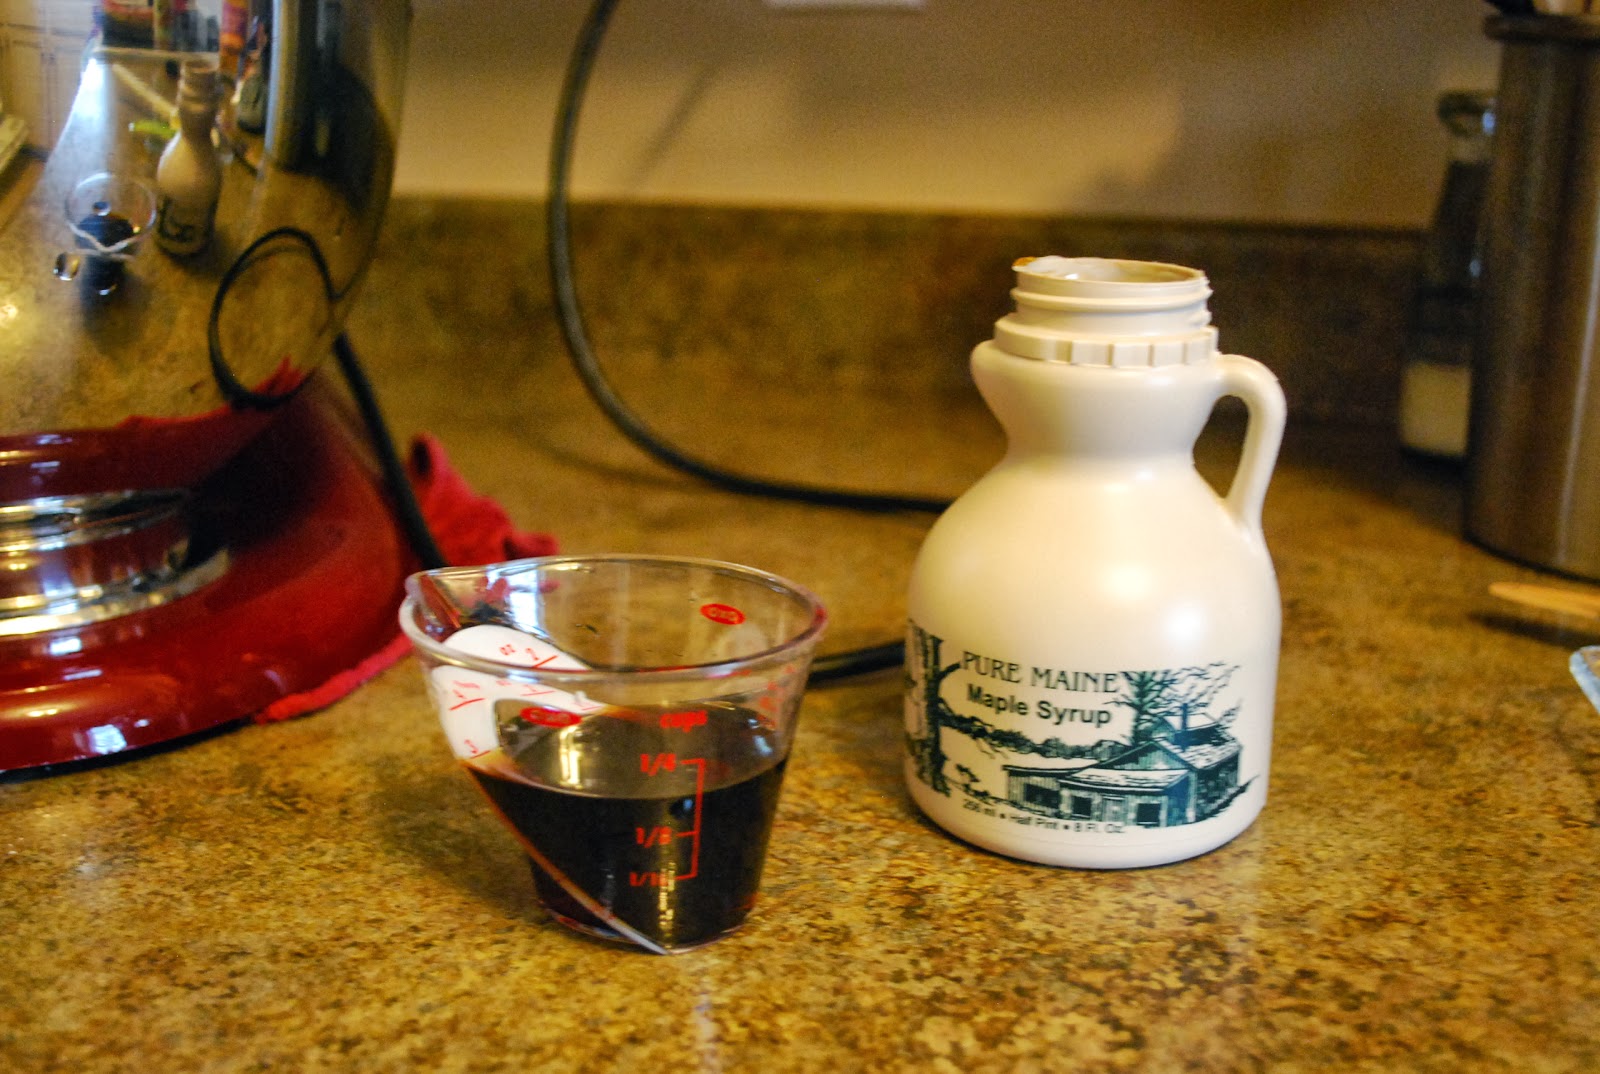
Beat in vanilla, cinnamon, and maple syrup.  My parents brought back this maple syrup from their trip to Maine this summer, and it is de-licious!


Add your powdered sugar in small amounts.  I absolutely HATE measuring and beating in powdered sugar.  It is such a mess!  No matter how careful I am, I always end up with white powdery film all over the kitchen.  If anyone has any tips for this, I would love to hear them. :)
 
Anyway, I was so focused on trying not to make a mess that I forgot to take pictures of adding the powdered sugar.  But the finished product should look like this:
 
 
Mmmm... 
 
It took some serious self-control not to eat this straight out of the bowl with a spoon.  Instead, I settled for licking the beater. :)
 
Now it's time to assemble the cake.  Unfortunately, I forgot to take pictures of this process too!  But it's really fairly simple.
 
Stack the cakes on top of each other with a thick layer of frosting in between.  Make sure you leave about half an inch around the edge of each cake or else you will have frosting coming out the sides.  I forgot to do this with the first layer, and it was a bit messy!
 
Then, put a thin "crumb coating" layer of frosting on the cake.  Don't worry about covering up the whole cake or making it pretty.  You're just putting a thin layer on to help seal in the crumbs.  Here's a picture of the cake with just the crumb coating:


Put the cake in the fridge for 30 minutes or so.  The original recipe said to put it back in the freezer for 10 minutes, but I have a pull out freezer underneath my fridge, so it wouldn't fit. 
 
Now it's time to make it pretty!  Add a thick layer of frosting to the top and sides of the cake, spreading it as smoothly as possible.  It really helps if you have a cake stand or lazy susan that you can rotate as you go. 
 
When you're finished it should look something like this:


Yum! Pictures simply do not do this cake justice. You really must try it!


Pumpkin Dream Cake

Original recipe from The Novice Chef
 

Ingredients:

Cake:
3 cups all-purpose flour
1 1/2 teaspoons baking soda
1/2 teaspoon salt
3/4 cup unsalted butter, softened
2 cups granulated sugar
3 large eggs
1 tablespoon vanilla extract
1 (15 oz) can pumpkin
1/4 cup vegetable oil
1 cup milk
 
Frosting:
12 oz (1 1/2 packages) cream cheese, softened
3/4 cup unsalted butter, softened
3 tablespoons pure maple syrup
2 teaspoons vanilla extract
2 teaspoons cinnamon
6 cups powdered sugar
 

In a medium bowl, wisk together flour, baking soda and salt. Set aside.

In a large bowl, cream butter and sugar until light and fluffy. Beat in the eggs one at a time, then add vanilla, pumpkin and vegetable oil.  Alternate adding flour mixture and milk, beating until smooth.

Divide batter evenly into three 8-inch round cake pans lined with parchment paper. Bake at 300 for 35-40 minutes, or until a toothpick inserted into the center of the cake comes out clean. Remove pans from oven and immediately place in freezer for 45 minutes.

To make frosting, beat butter and cream cheese together until smooth. Beat in maple syrup, vanilla and cinnamon. Add powdered sugar and beat on low speed until combined, then on high until frosting is smooth. 

Assemble the 3 layers with a thick layer of frosting in between each layer. Apply a thin crumb coat on the top and sides. Put back in the freezer for about 10 minutes or refrigerator for 30 minutes.

Apply one final thick and even layer around the outside of the cake. Store in the fridge until ready to serve.
 

Sunday, October 6, 2013

Veggie Bars

I recently went to a party where we were asked to bring an appetizer or dessert.  I decided to make one of my Nana's recipes that is a family favorite: Veggie Bars.  Now let me preface this post by saying that the name of this recipe is somewhat misleading.  When you hear "veggie bars," you probably think of something healthy with lots of veggies that may or may not taste good.

That is simply not the case. These bars involve crescent rolls, cream cheese, and other delightful things, along with a little bit of veggies (to make you feel better about eating them, right?!).  They are quite tasty.  My sweet Nana makes these for everyone.  She takes them to people from church who are sick or need encouragement.  Every time she goes to the doctor, she takes a batch for the office staff.  She's even given them to her mail carrier!  My aunt calls it her "Veggie Bar Ministry."  Ha!

Here's what you need:


Crescent rolls, cream cheese (I use 1/3 less fat and it works great), Ranch seasoning mix, milk, broccoli, carrots, and shredded cheddar cheese.

This is only half of what the original recipe calls for.  But the full recipe makes a TON, and I don't think they would freeze very well. So I usually just make a half recipe unless I am making them for a really big group.

First, roll the crescent rolls out onto a cookie sheet. Pinch all the seams together and even the sides out so you have a nice big rectangle.


Bake at 350 for about 10 minutes or until golden brown. Let cool completely.


Meanwhile, dice your carrots and cut the broccoli into little florets. You can also add red bell peppers if you want. I happen to love them, and they add some extra color. But since I was making these for a party, and a lot of people are picky about peppers, I decided to keep it simple.
 
 
I usually use a food processor to do this, but Luke was napping, and it's very loud, so I chopped by hand.  The food processor is MUCH faster though.

 
I never really measure how much of the veggies I use.  I'd estimate maybe 3/4 - 1 of a cup or so of each.  You can do more or less depending on your preference. 
 
Next, beat together the cream cheese, Ranch seasoning, and milk until smooth.

 
 It helps if you let the cream cheese soften on the counter for awhile before mixing. Or if you're like me and forgot to do that, you can nuke it in the microwave for 30 seconds or so. :)

 
Once the crescent rolls have cooled, spread the cream cheese mixture over the top.


How can you go wrong with cream cheese and crescent rolls?  Yum!!
 
Sprinkle the broccoli, carrots, and shredded cheese over the top.
 
 
And that's it!  You're done!


 I usually chill these in the fridge for 30 minutes or so to make them easier to cut.

When I bring these to a get together or potluck, everyone goes on and on about how good they are. They are great as an appetizer, finger food, side dish, or snack.

Hope you enjoy! :)

Veggie Bars (full recipe)

2 packages crescent rolls
2  8-ounce packages cream cheese, softened
1 package Ranch seasoning mix
1/2 cup milk
Diced carrots, broccoli, and/or other veggies (red bell peppers are great!)
1 cup shredded cheddar cheese

Roll out crescent rolls onto a large cookie sheet. Press seems together and even out sides to make a large rectangle.  Bake at 350 for 10 minutes or until golden brown. Let cool completely.

Beat together softened cream cheese, milk, and Ranch seasoning until smooth.   Spread over cooled crescent rolls.

Sprinkle with diced veggies and shredded cheese.  Refrigerate for 30 minutes before cutting into squares.

Enjoy!!

~Rachel